On January 21, 2014, the sky was clear again. Therefore, I decided to take my telescope out once more. Outside was a temperature of -18 oC. It was not that windy. I set up on my driveway, which had a great view of the constellation Orion. My goal for this session was to find the Orion Nebula once more and properly image it.
When everything is set up, I align my telescope to two stars: Betelgeuse, and Mirfak. It was a successful alignment. After alignment, I slewed to M42. I looked at it through my eyepiece, and I saw the glorius green cloud of the Orion Nebula, also known as M42. Since I already tried taking an image with the DSLR, I tried to image it using the CCD Camera.
For those who don’t know, A CCD Camera is a camera that uses a chip to collect the light and create an image from it. CCD stands for Charged-Coupled Device. It is a major advancement in digital imaging technology. It is used not only for light detection, but when high-quality images are needed. The first images I took, such as my triple-transit Jupiter image, or my Saturn image, were with a CCD camera.
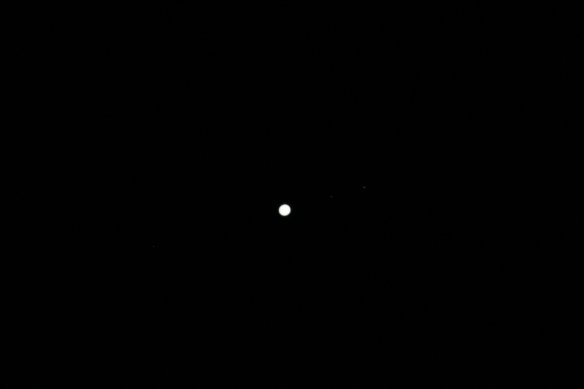
After fiddling with the telescope, eye piece and CCD camera, I was able to find an image of three stars. I don’t know if that was M42, however, I was happy to be able to image far away stars from my CCD camera, designed for planetary imaging. Unfortunately, after processing the video footage, I realized it was not M42, but were three stars that were poorly focused. After filming the stars for a few minutes, I decided to stop CCD imaging the stars. I was determined to find M42 though.

Orion Nebula Stars captured using CCD Camera
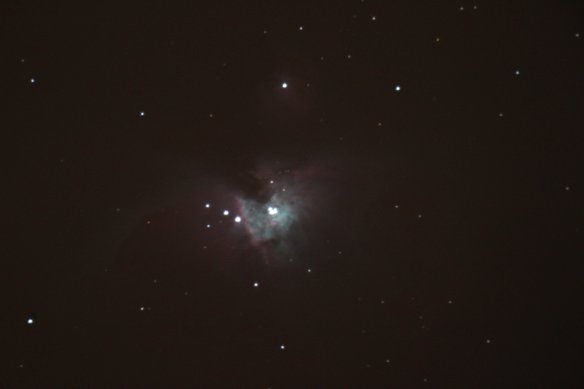
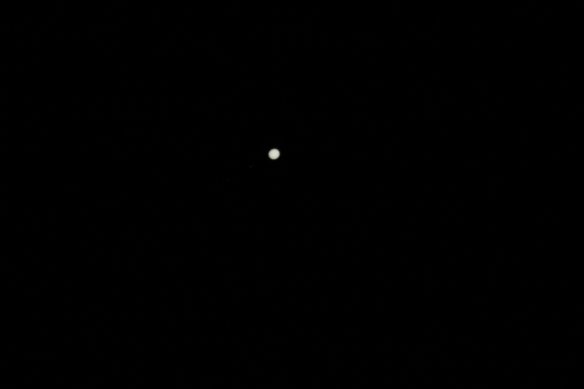
Therefore, I decided to use the DSLR Camera again. I eventually found M42, and took a few long exposure images of it. Looking at them now, it is much clearer this time around, but not at the level that I want it to be at. I believe there might be a focusing issue on my telescope. I’ll need to look into that. Below is the image of the Orion Nebula:

The Orion Nebula
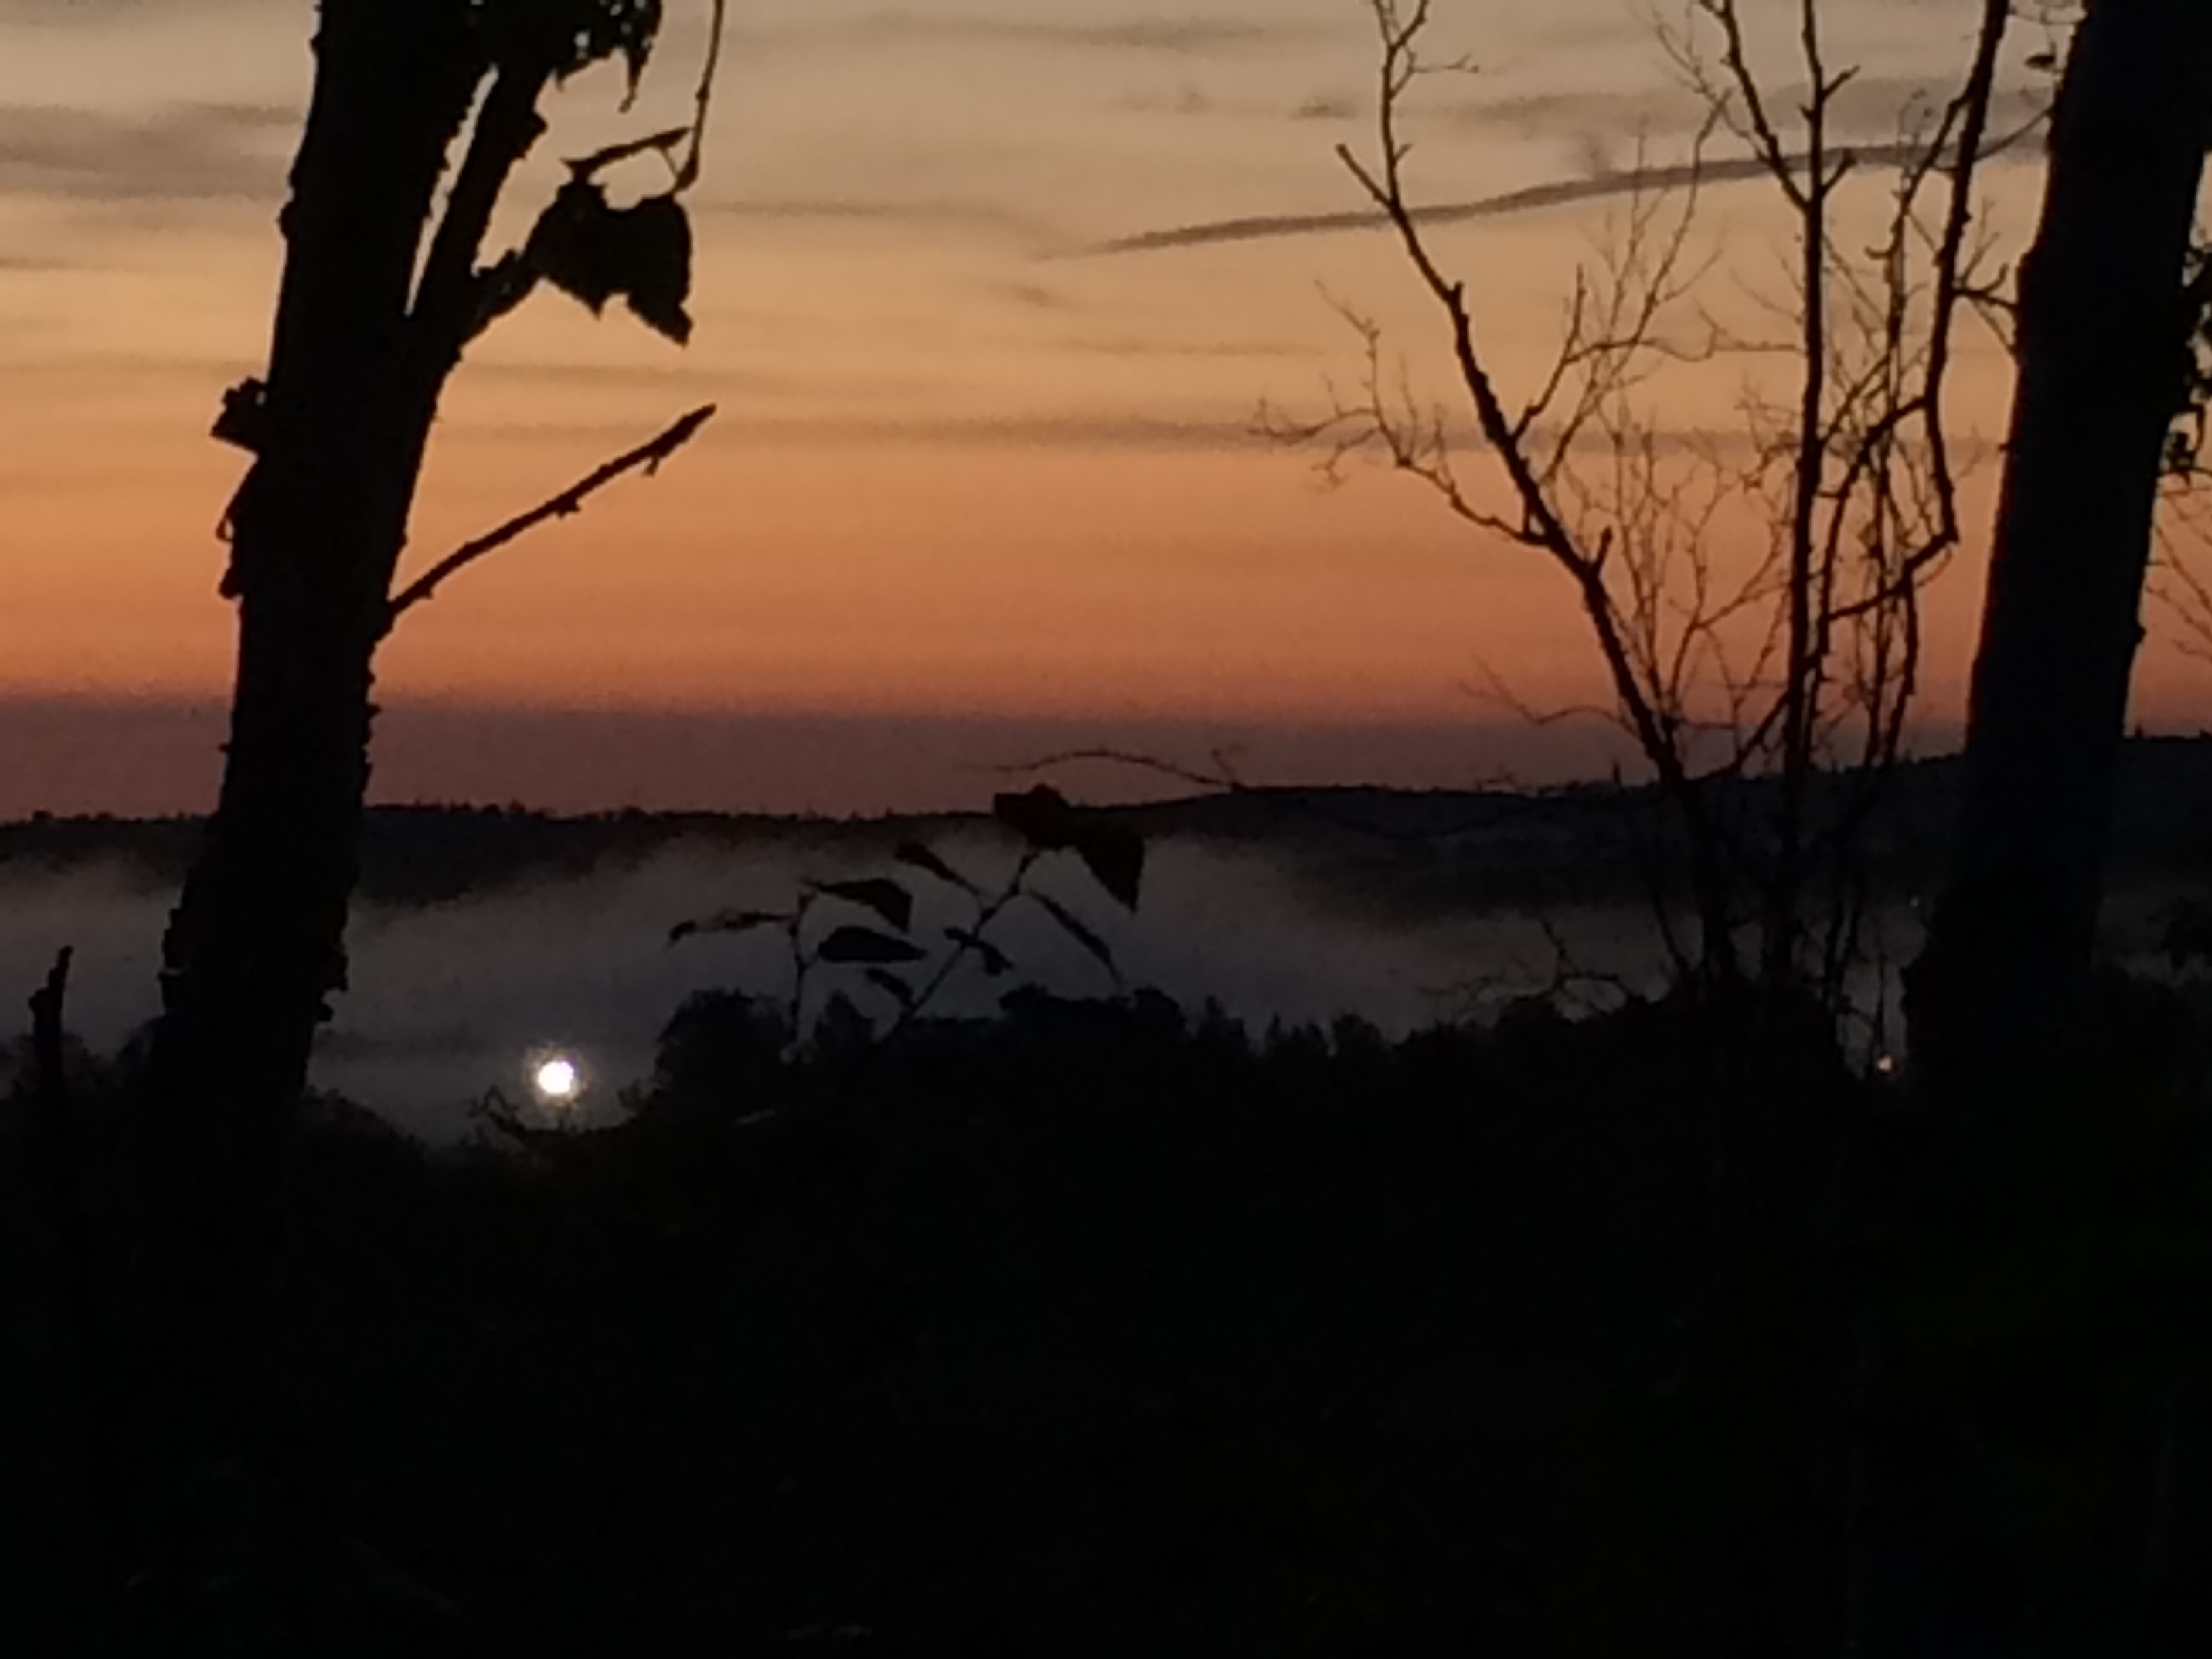
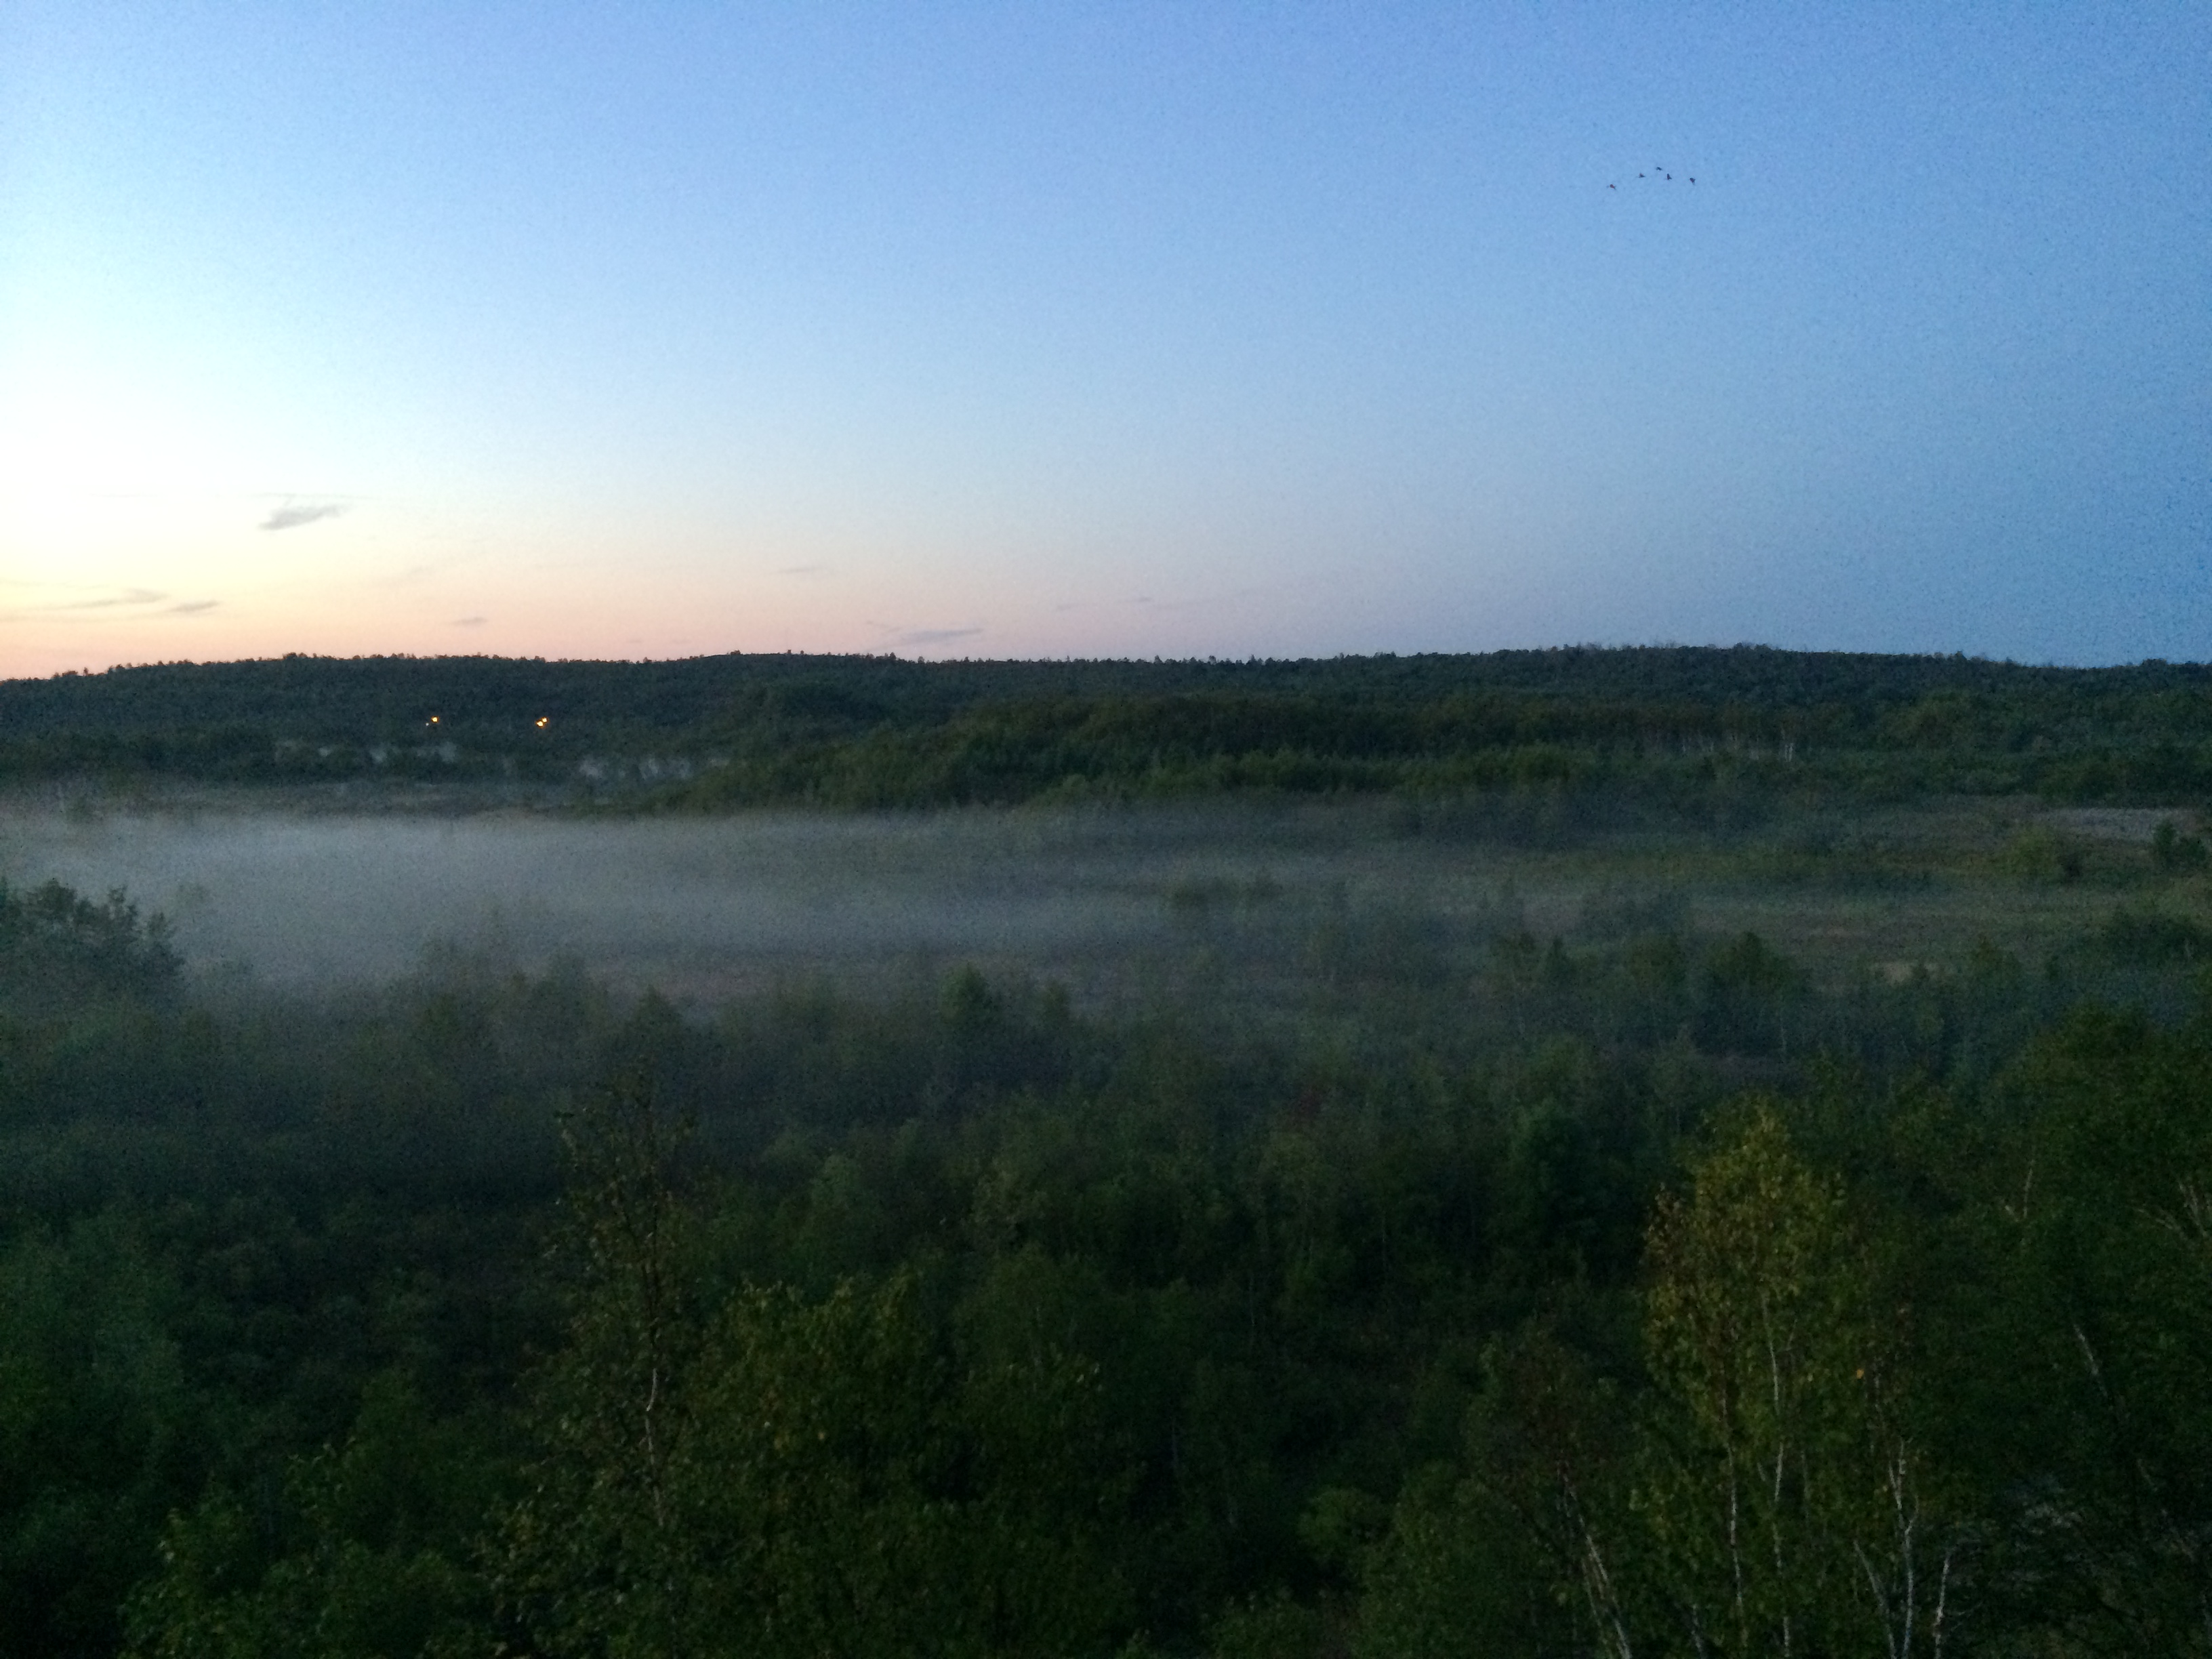
During my imaging attempts of M42, I went to the side of my house, and I saw the Big Dipper, clear as night, between my house and my neighbour’s house. Seeing it at its position inspired me to image it, but at a later time, after Jupiter.
After imaging M42, I set my sight to CCD image Jupiter. However, before I could do that, I see my computer has restarted and repairing itself. Waiting for it, I realize that the computer is on a cycle that prevents the operating system from booting. I don’t know why, but I believe it was because of the intense cold prevented the proper functioning of my computer. Therefore, I decided to take my computer inside to warm up. With my computer out of order, I decided to focus my attention on capturing that image of the Big Dipper.
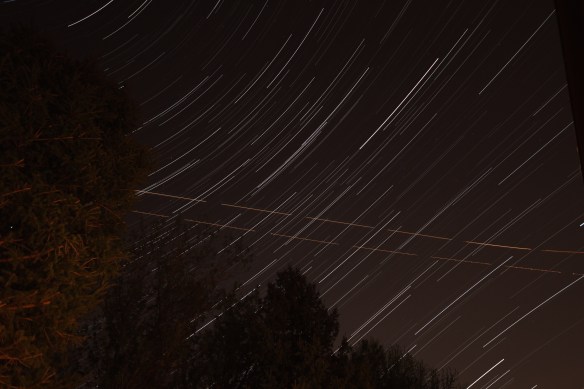
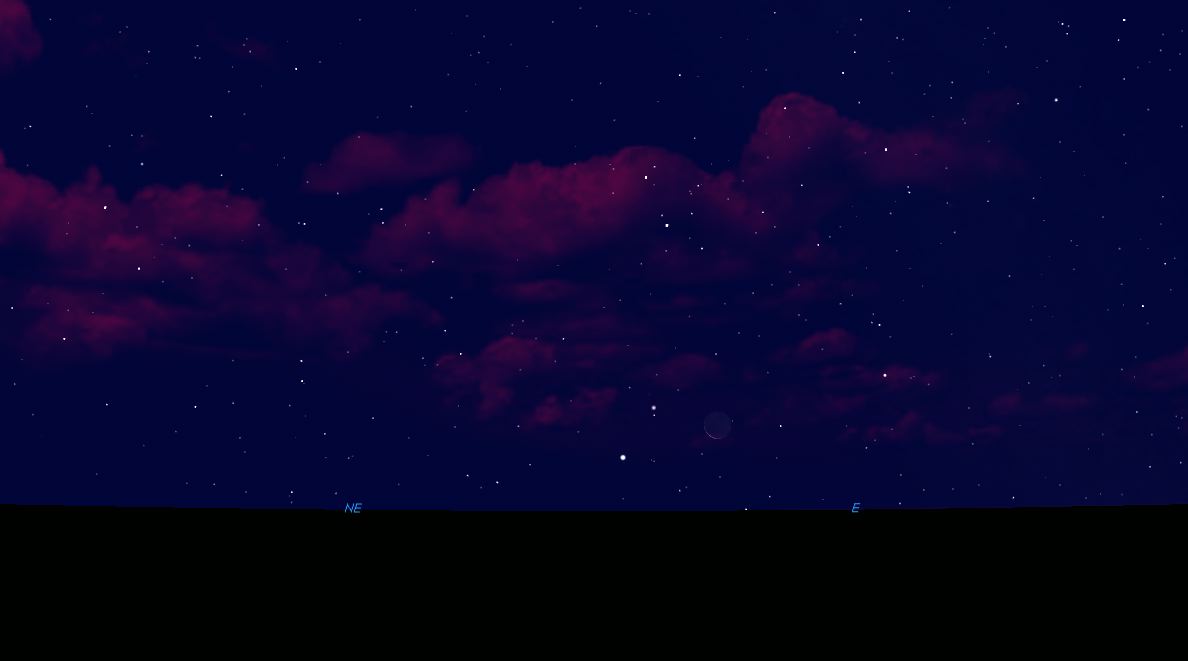
I relocated my set up to the dark area between my house and my neighbour’s. I set the camera on top of my piggyback mount. I then set the telescope to capture many long exposure images of the sky. They turned out beautifully.

Wide Angle View of Stars

The Big Dipper Between Two Houses

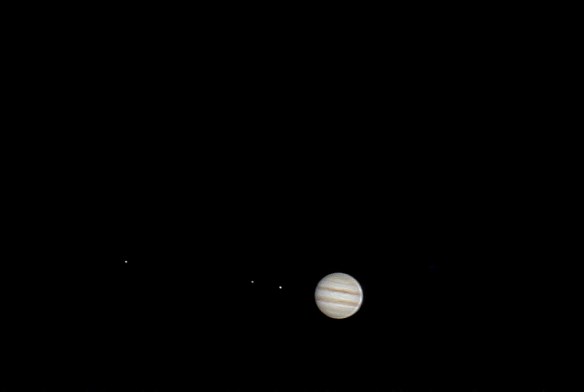
Stars with Jupiter in the sky
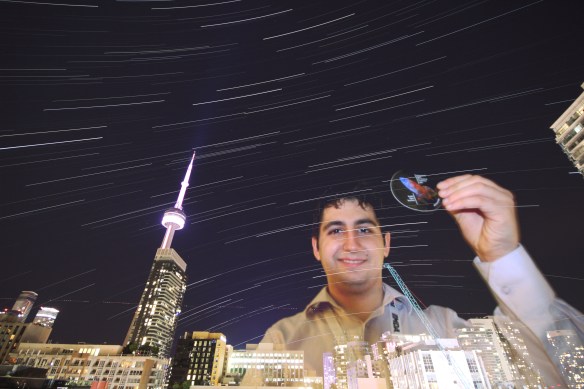
Note that on the center-bottom portion of the images, my telescope was visible.
After I was satisfied in the quality and number of images taken, I decided to refocus my attention on Jupiter. I went back inside to obtain my laptop. At the same time I also went to swap out the batteries. To conserve used batteries, I reused a set of old batteries having warmed up to room temperature, thus allowing any extra charge to be used up. I went outside and replaced the batteries.
I set it up and I set the telescope to realign itself to Jupiter. However, the telescope was starting to give me a No Response 17 code. That means that my hand controller lost contact with the Altitude motor, which means I had no up or down capabilities. I conjectured it to being exposed to the cold for so long. However, I also read that it could be due to the used batteries having been completely drained. Regardless of why, I decided to call it a night. I brought all my equipment back in, and got warm.
That night was not only quite successful, but has been the busiest I had ever been. I ran back into my house to get equipment more times than any other time. I got a better image of M42 despite it not being at the quality I desire it to be. I was able to image a farway star using CCD. I was also able to get a lot of long-exposure images of the big dipper and the night sky. Unfortunately, I wasn’t able to image Jupiter. The next time I observe, I will image Jupiter. I also discovered focusing issues when I use my DSLR camera. It will have to be resolved if I want to get better images. It has been a great learning experience, and I hope to do it again.
Before I conclude the post, I have one announcement to make:
- The Facebook page is officially live. If anybody has any questions, feel free to ask them there. The link is: https://www.facebook.com/jolyastronomy
Thank You for following my blog. I hope you enjoy it. Happy Observing!
WORK CITED
http://en.wikipedia.org/wiki/Charge-coupled_device
http://www.celestron.com/c3/support3/index.php?_m=knowledgebase&_a=viewarticle&kbarticleid=2434